Contents
- Pr-requisites
- Installing DVWA
- Configuring DVWA
- Fixing the problems
- Changing credentials
- Adding recaptcha key
- Enabling disabled stuff
- Installing missing stuff
- Giving write privileges
Pr-requisites
You need to have Kali Linux (rolling release) and Ubuntu (I’m using 16.04) up and running. If you aren’t familiar with virtual machines and stuff, then take a break of a few days, get familiar with them, install and run a few Linux (any flavor) VMs, drink some coffee, etc. Once you’re comfortable with virtual machines (and have Kali & Ubuntu up and running), proceed onward.
You also need some minimal knowledge of Linux, networking, and web applications. As an exercise, you could try getting some free web host (a pathetic one will suffice, since you are only doing this for learning and won’t need anyone to use your website), and deploy a WordPress site. Tinker around the website, install themes and stuff to get a feel for it. Then, go one step further and deploy a WordPress instance on your Linux virtual machine. This time, don’t use the WordPress UI to do things, but instead try and figure out stuff manually. Install themes, modules, etc. on your own by placing them in the correct directory. Just tinker away, in short, till you have some level of familiarity with web applications. Versions used:
- Ubuntu Version – 16.04.1 LTS
- XAMPP Version – 7.1.1
Installing DVWA
This is a fairly simple procedure. Below are screenshots with explanation. At the end of the tutorial, I have listed commands that you need to type to get all this done (you can simply copy paste the commands). The unnecessary steps are not present in list of commands (in screenshots they are there to enhance your understanding oh what’s going on).
- First we will download DVWA.
- Then we read it’s doc and find out what to do.
- After reading doc, we realize we need to install XAMPP, we do that.
- After installing XAMPP, we test if it works by starting it and opening localhost on our machine.
- Once we’re sure that XAMPP works, we will proceed and copy DVWA files to htdocs folder of XAMPP.
- Now we check if localhost/DVWA-master leads us to the vulnerable app. If it does, then we did everything right.
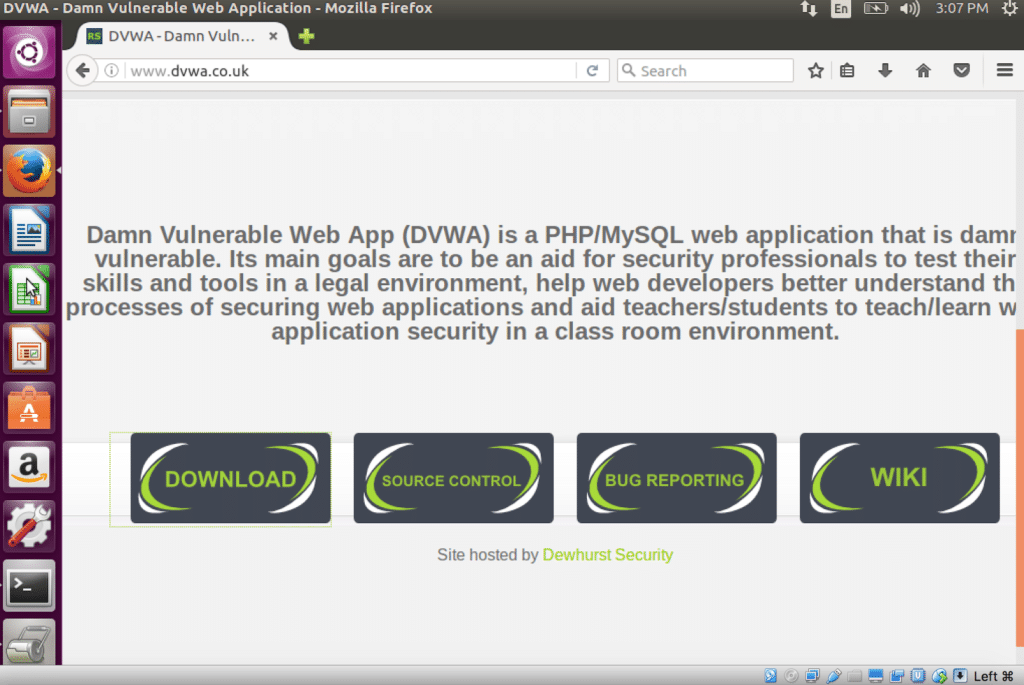
Open Damn Vulnerable Web App website in your browser. Click on download. You’ll get an archive, extract it.
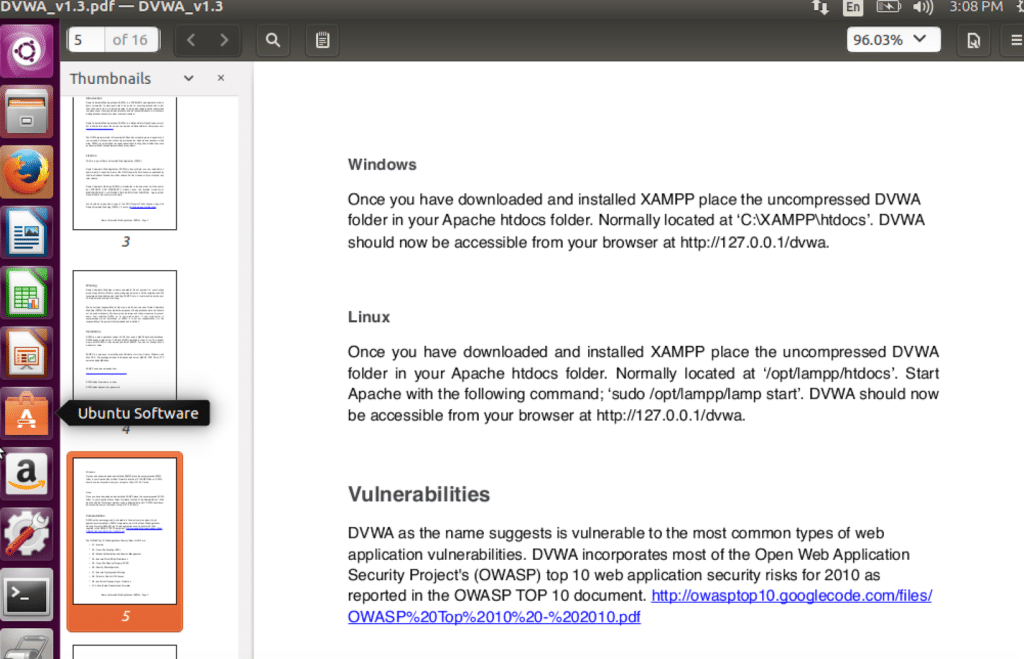
Navigate to the extracted archive. Get a lay of the land. You’ll find that there is documentation available in docs folder.
Here is the relevant section of the documentation. We need to install XAMPP. You can get it to work with any other equivalent software bundle, but for ease, let’s stick to the recommended way.
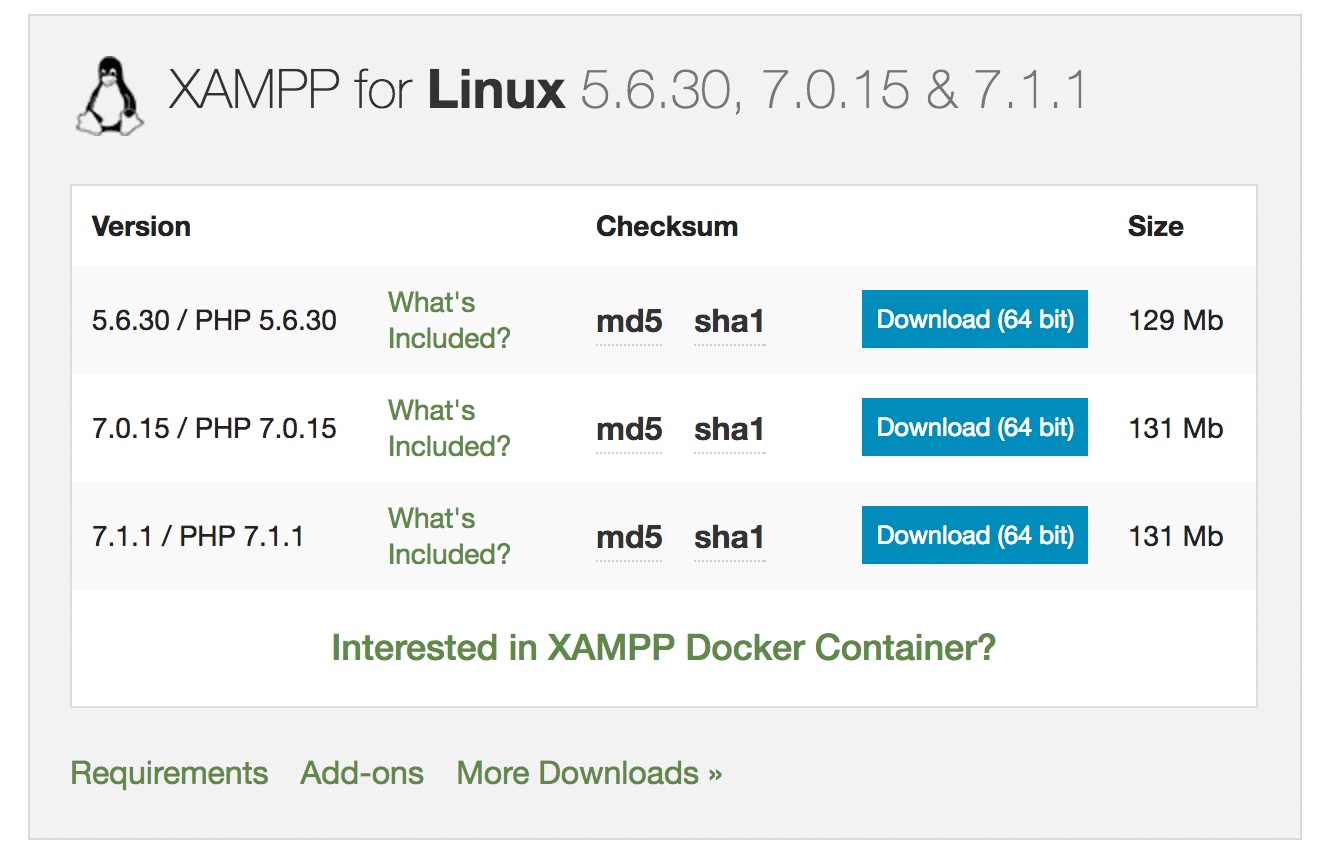
Proceed to download the XAMPP bundle. I went with the latest version (going with latest version poses a slight problem for us, while DVWA is flawed, our PHP version is perfectly patched. For now, let’s ignore this. If this cause hindrance at a later stage, then we’ll deal with it)
Navigate to downloads directory and run the installer for XAMPP.
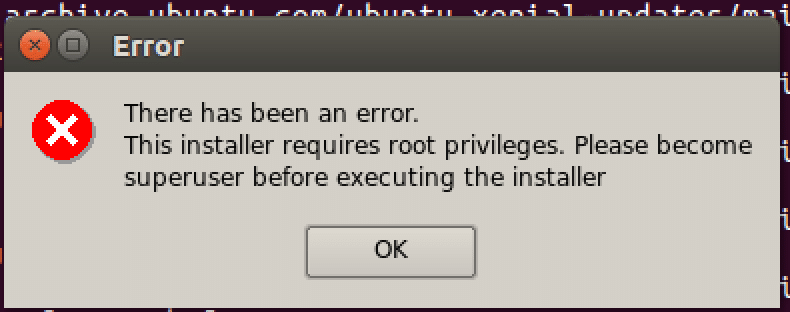
Realise that you forgot to run the installer as root! (kudos if you ran as root and didn’t make the same mistake as me)
Run installer as root.
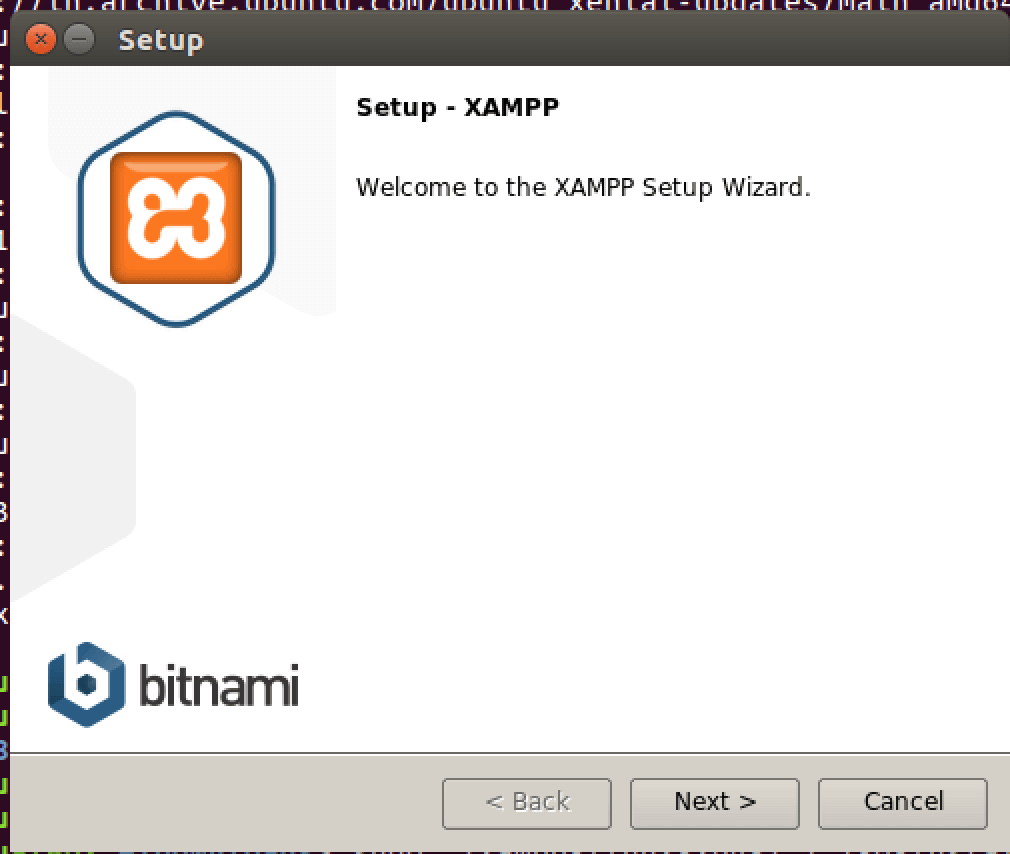
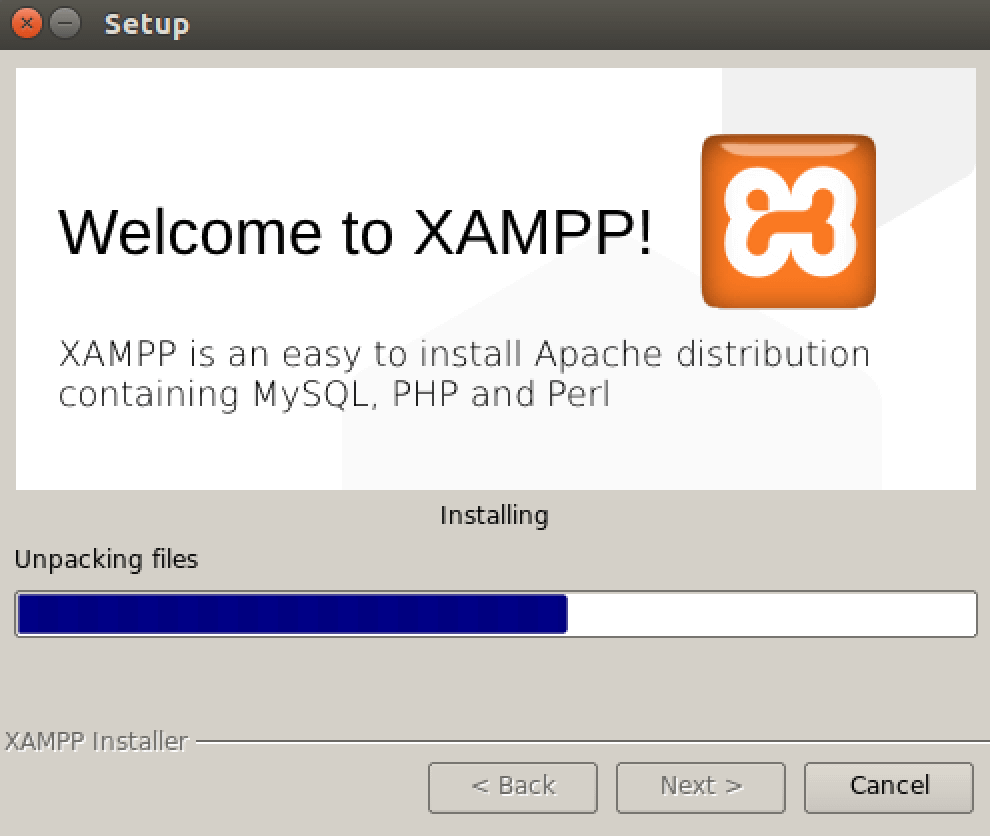
It’s a simple installer. You’d know what to do.
Wait for it to finish.
Start the XAMPP server (note that the directory is lampp in linux systems)
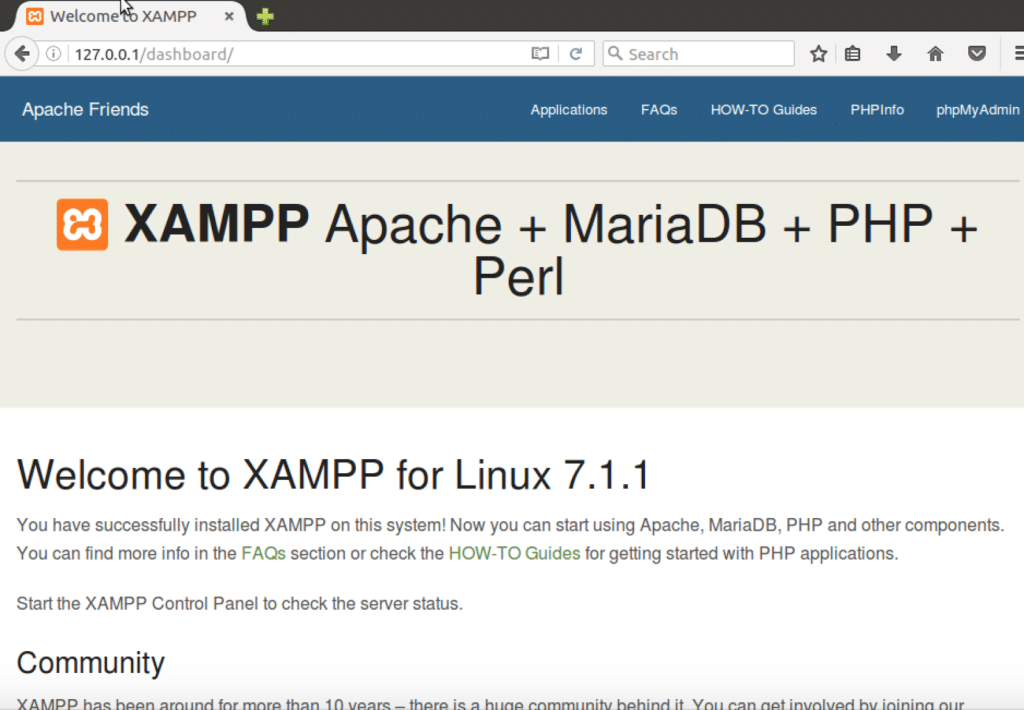
Check if your server is running by typing 127.0.0.1 or localhost on your browser. XAMPP is now up and running properly. Let’s run our vulnerable app on XAMPP now.
As suggested by the documentation, we simply move our folder into the htdocs directory.
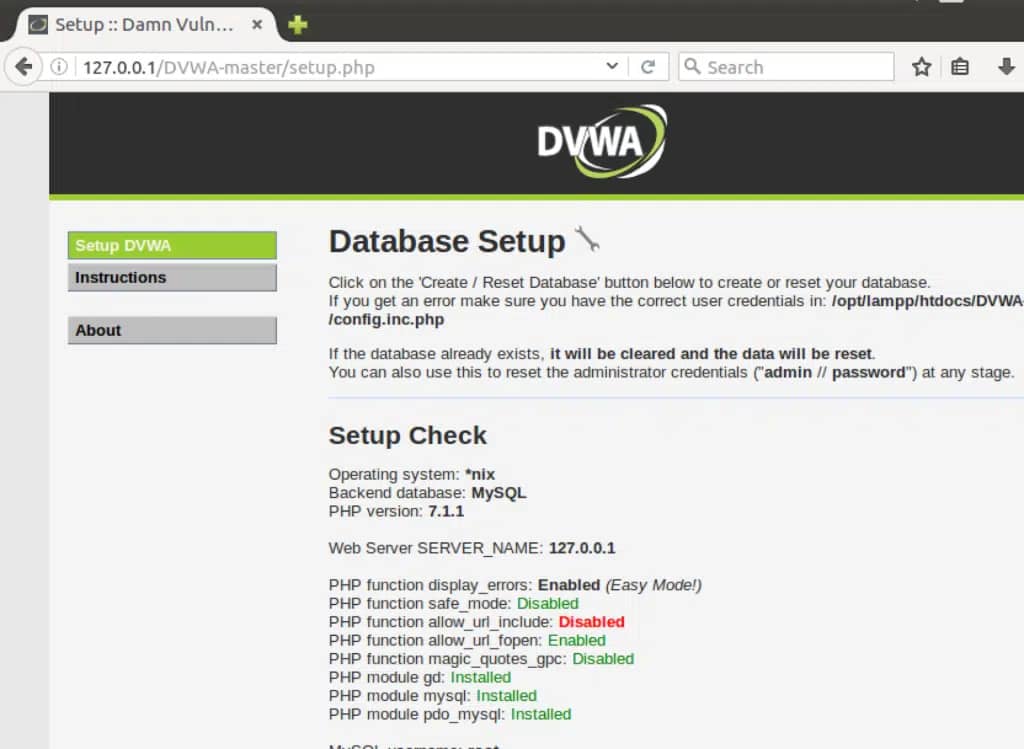
Open the localhost/DVWA-master URL and you’ll see that everything works as expected. Our initial setup is successfully done.
There is still further configuration to be done, but I don’t want to extend the tutorial any further. After the next section, there is link to part 2 of this series.
Commands
For below commands to work, ensure the following-
- xampp-linux-x64-VERSION-installer.run – this file downloaded and is located in Downloads folder
- DWVA-master directory is located in home folder (the archive to be downloaded and extracted to obtain this directory).
- Replace VERSION with the version you have downloaded (7.1.1.0 in my case)
Here are the commands-
cd ~/Downloads
chmod a+x xampp-linux-x64-VERSION-installer.run
cd ~
sudo ./xampp-linux-x64-VERSION-installer.run
sudo mv ~/DWVA-master/ /opt/lampp/htdocs/
Extras
- Read about localhost (what does this URL signify – 127.0.0.1)
- Commands used – ls, cd, mv, sudo. Use man pages to find out what these mean (eg. type man mv into the terminal)
 blackMORE Ops Learn one trick a day ….
