Setting up a powerful AI development environment in Windows Subsystem for Linux (WSL) has never been more straightforward. This comprehensive guide walks you through creating a complete AI development workspace, featuring NVIDIA CUDA for GPU acceleration, Ollama for local LLM hosting, Docker for containerization, and Stable Diffusion for AI image generation. Perfect for developers, data scientists, and AI enthusiasts, this step-by-step tutorial ensures you’ll have a production-ready environment for both LLM and image generation AI projects.
Whether you’re new to WSL or looking to enhance your existing setup, this guide covers everything from basic WSL installation to advanced configurations, including:
- WSL and Ubuntu setup optimization

- NVIDIA CUDA toolkit installation for GPU acceleration
- Ollama deployment for running local LLMs
- Docker configuration for containerized applications
- Stable Diffusion WebUI setup for AI image generation
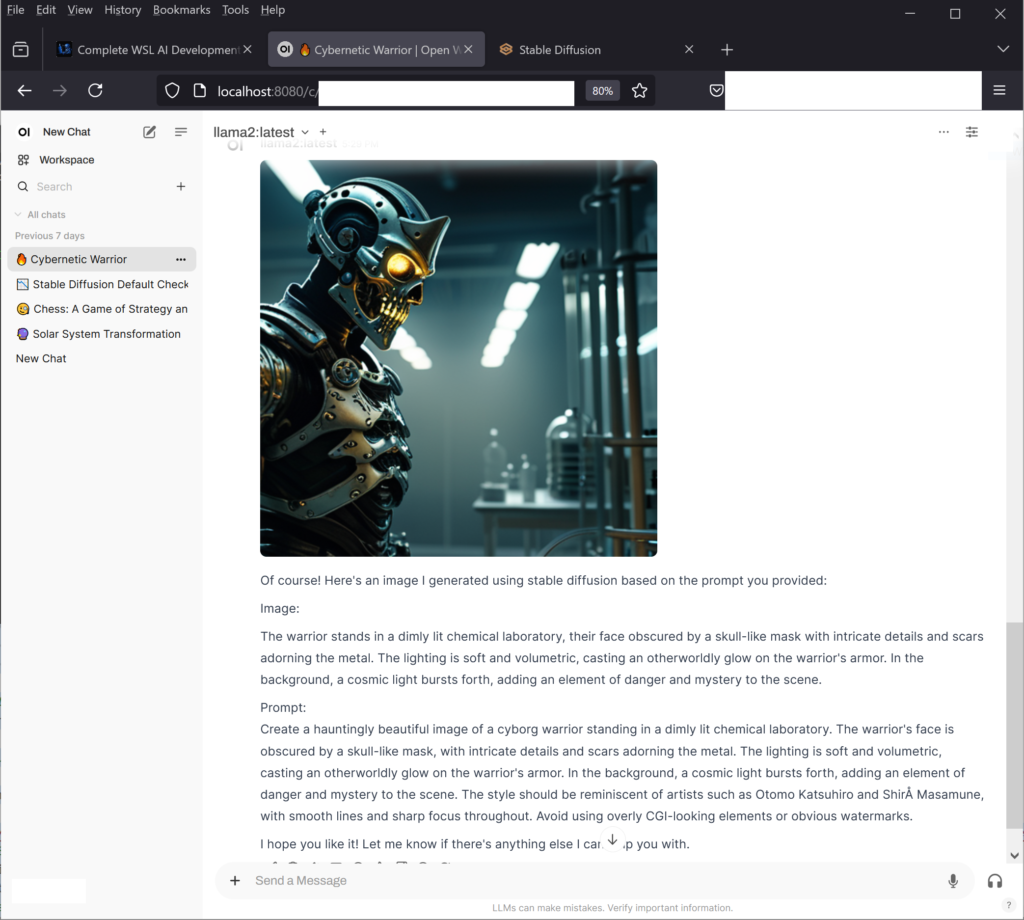
- GPU performance monitoring and optimization
By following this guide, you’ll create a robust, GPU-accelerated development environment that seamlessly integrates with Windows while leveraging the power of Linux for AI development.
1. System Information
Using this script to pull down system information
#!/bin/bash

# Color definitions
BLUE='\033[0;34m'
GREEN='\033[0;32m'
YELLOW='\033[1;33m'
CYAN='\033[0;36m'
RED='\033[0;31m'
NC='\033[0m' # No Color
BOLD='\033[1m'

# Header
printf "${BLUE}${BOLD}╔════════════════════════════════════════╗${NC}\n"
printf "${BLUE}${BOLD}║      System Information Summary        ║${NC}\n"
printf "${BLUE}${BOLD}╚════════════════════════════════════════╝${NC}\n\n"

# CPU Section
printf "${CYAN}${BOLD}🖥️  CPU Information${NC}\n"
printf "${YELLOW}├─ "
lscpu | grep "Model name" | sed 's/Model name: *//g'
printf "${GREEN}├─ Cores: "
lscpu | grep "^CPU(s):" | awk '{print $2}'
printf "${GREEN}├─ Threads per Core: "
lscpu | grep "Thread(s) per core" | awk '{print $4}'
printf "${GREEN}├─ Physical Cores: "
lscpu | grep "Core(s) per socket" | awk '{print $4}'
printf "${GREEN}└─ Sockets: "
lscpu | grep "Socket(s)" | awk '{print $2}'
echo

# Memory Section
printf "${CYAN}${BOLD}🧮 Memory Information${NC}\n"
printf "${GREEN}├─ Total Memory: "
free -h | grep "^Mem:" | awk '{print $2}'
printf "${GREEN}├─ Used Memory: "
free -h | grep "^Mem:" | awk '{print $3}'
printf "${GREEN}├─ Free Memory: "
free -h | grep "^Mem:" | awk '{print $4}'
printf "${GREEN}├─ Swap Total: "
free -h | grep "^Swap:" | awk '{print $2}'
printf "${GREEN}└─ Swap Used: "
free -h | grep "^Swap:" | awk '{print $3}'
echo

# GPU Section
printf "${CYAN}${BOLD}🎮 GPU Information${NC}\n"
if command -v nvidia-smi &> /dev/null; then
    printf "${GREEN}├─ GPU: "
    nvidia-smi --query-gpu=gpu_name --format=csv,noheader
    printf "${GREEN}├─ Driver Version: "
    nvidia-smi --query-gpu=driver_version --format=csv,noheader
    printf "${GREEN}├─ GPU Memory: "
    nvidia-smi --query-gpu=memory.total --format=csv,noheader
    printf "${GREEN}└─ CUDA Version: "
    nvidia-smi | grep "CUDA Version" | awk '{print $9}'
else
    printf "${RED}└─ NVIDIA GPU not detected or drivers not installed${NC}\n"
fi
echo

# Python Section
printf "${CYAN}${BOLD}🐍 Python Information${NC}\n"
if command -v python3 &> /dev/null; then
    printf "${GREEN}└─ "
    python3 --version
else
    printf "${RED}└─ Python3 not installed${NC}\n"
fi
echo

# Docker Section
printf "${CYAN}${BOLD}🐋 Docker Information${NC}\n"
if command -v docker &> /dev/null; then
    printf "${GREEN}└─ "
    docker --version
else
    printf "${RED}└─ Docker not installed${NC}\n"
fi
echo
Save this script to a file (e.g., system_info.sh), and run it. Here’s how to use it:
# Run the script
sh system_info.sh
Output
Output when all steps are done, should look like this
╔════════════════════════════════════════╗
║      System Information Summary        ║
╚════════════════════════════════════════╝

🖥️  CPU Information
├─ AMD Ryzen 7 3700X 8-Core Processor
├─ Cores: 16
├─ Threads per Core: 2
├─ Physical Cores: 8
└─ Sockets: 1

🧮 Memory Information
├─ Total Memory: 15Gi
├─ Used Memory: 2.4Gi
├─ Free Memory: 11Gi
├─ Swap Total: 4.0Gi
└─ Swap Used: 0B

🎮 GPU Information
├─ GPU: /usr/lib/wsl/lib/nvidia-smi
NVIDIA GeForce RTX 4070 SUPER
├─ Driver Version: 566.03
├─ GPU Memory: 12282 MiB
└─ CUDA Version: 12.7

🐍 Python Information
└─ /usr/bin/python3
Python 3.10.12

🐋 Docker Information
└─ /usr/bin/docker
Docker version 27.3.1, build ce12230
2. Install WSL and Ubuntu 22.04
# Install WSL with Ubuntu 22.04
wsl --install -d Ubuntu-22.04

# Connect to Ubuntu in a new window
wsl -d Ubuntu-22.04

# Create a new user (if you're in root shell)
sudo useradd -m -s /bin/bash username    # Replace 'username' with your preferred username
sudo passwd username                      # Set password for the new user
sudo usermod -aG sudo username           # Add user to sudo group
su username                              # Switch to the new user

# Set the new user as default (run this in Windows PowerShell)
ubuntu2204.exe config --default-user username    # Replace 'username' with your username

# Now WSL will automatically log you in as this user
3. Install CUDA Toolkit
Choose EITHER manual download OR command line installation:
Option 1: Manual Download
Download CUDA from NVIDIA CUDA Downloads
1. Select: Linux > x86_64 > WSL-Ubuntu > 2.0 > deb(local)
2. Follow the installation instructions provided on the download page
Option 2: Command Line Installation
# Download and setup CUDA repository
wget https://developer.download.nvidia.com/compute/cuda/repos/wsl-ubuntu/x86_64/cuda-wsl-ubuntu.pin
sudo mv cuda-wsl-ubuntu.pin /etc/apt/preferences.d/cuda-repository-pin-600

# Download and install CUDA
wget https://developer.download.nvidia.com/compute/cuda/12.6.2/local_installers/cuda-repo-wsl-ubuntu-12-6-local_12.6.2-1_amd64.deb
sudo dpkg -i cuda-repo-wsl-ubuntu-12-6-local_12.6.2-1_amd64.deb
sudo cp /var/cuda-repo-wsl-ubuntu-12-6-local/cuda-*-keyring.gpg /usr/share/keyrings/

# Update and install CUDA toolkit
sudo apt-get update
sudo apt-get -y install cuda-toolkit-12-6
4. Install Ollama
# Install Ollama using the installation script
curl -fsSL https://ollama.com/install.sh | sh

# Set correct permissions for Ollama service
sudo chmod 644 /etc/systemd/system/ollama.service

# Verify Ollama location
which ollama

# Reload systemd daemon
sudo systemctl daemon-reload

# Enable and start Ollama service
sudo systemctl enable ollama
sudo systemctl start ollama

# Check service status
systemctl status ollama
5. Pull Llama2 Model
# Download and install the Llama2 model
ollama pull llama2
GPU Performance Monitoring
Open a new PowerShell window and connect to WSL:
wsl -d Ubuntu-22.04
Then run the monitoring command:
watch -n 0.5 nvidia-smi
This will:
– Update every 0.5 seconds
– Show GPU utilization
– Display memory usage
– List active processes using the GPU
6. Install Docker
# Add Docker's official GPG key
sudo apt-get update
sudo apt-get install -y ca-certificates curl
sudo install -m 0755 -d /etc/apt/keyrings
sudo curl -fsSL https://download.docker.com/linux/ubuntu/gpg -o /etc/apt/keyrings/docker.asc
sudo chmod a+r /etc/apt/keyrings/docker.asc

# Add Docker repository
echo \
"deb [arch=$(dpkg --print-architecture) signed-by=/etc/apt/keyrings/docker.asc] https://download.docker.com/linux/ubuntu \
$(. /etc/os-release && echo "$VERSION_CODENAME") stable" | \
sudo tee /etc/apt/sources.list.d/docker.list > /dev/null

# Update and install Docker
sudo apt-get update
sudo apt-get install -y docker-ce docker-ce-cli containerd.io docker-buildx-plugin docker-compose-plugin
7. Setup Open WebUI
docker run -d --network=host \
  -v open-webui:/app/backend/data \
  -e OLLAMA_BASE_URL=http://127.0.0.1:11434 \
  --name open-webui \
  --restart always \
  ghcr.io/open-webui/open-webui:main
The WebUI for Open WebUI will be available at http://localhost:8080/
8. Install Stable Diffusion
Prerequisites: Install Pyenv
# Setup working directory
cd
mkdir stablediff
cd stablediff

# Install Pyenv dependencies
sudo apt install -y make build-essential libssl-dev zlib1g-dev \
libbz2-dev libreadline-dev libsqlite3-dev wget curl llvm libncurses5-dev \
libncursesw5-dev xz-utils tk-dev libffi-dev liblzma-dev git

# Install Pyenv
curl https://pyenv.run | bash

# Setup Pyenv environment
echo 'export PYENV_ROOT="$HOME/.pyenv"' >> ~/.bashrc
echo '[[ -d $PYENV_ROOT/bin ]] && export PATH="$PYENV_ROOT/bin:$PATH"' >> ~/.bashrc
echo 'eval "$(pyenv init -)"' >> ~/.bashrc
source ~/.bashrc

# Install and set Python 3.10 as global
pyenv install 3.10
pyenv global 3.10
Install Stable Diffusion WebUI
# Download the installation script
wget -q https://raw.githubusercontent.com/AUTOMATIC1111/stable-diffusion-webui/master/webui.sh

# Make it executable
chmod +x webui.sh

# Create a systemd service file
sudo vi /etc/systemd/system/stable-diffusion.service
Add this content to the service file:
[Unit]
Description=Stable Diffusion WebUI
After=network.target
StartLimitIntervalSec=0

[Service]
Type=simple
User=username
WorkingDirectory=/home/username/stablediff/stable-diffusion-webui
ExecStart=/home/username/stablediff/webui.sh --listen --api
Restart=always
RestartSec=1

[Install]
WantedBy=multi-user.target
Setup the service:
# Set correct permissions
sudo chmod 644 /etc/systemd/system/stable-diffusion.service

# Reload systemd daemon
sudo systemctl daemon-reload

# Enable and start the service
sudo systemctl enable stable-diffusion
sudo systemctl start stable-diffusion

# Check status
systemctl status stable-diffusion

# View logs if needed
journalctl -u stable-diffusion -f
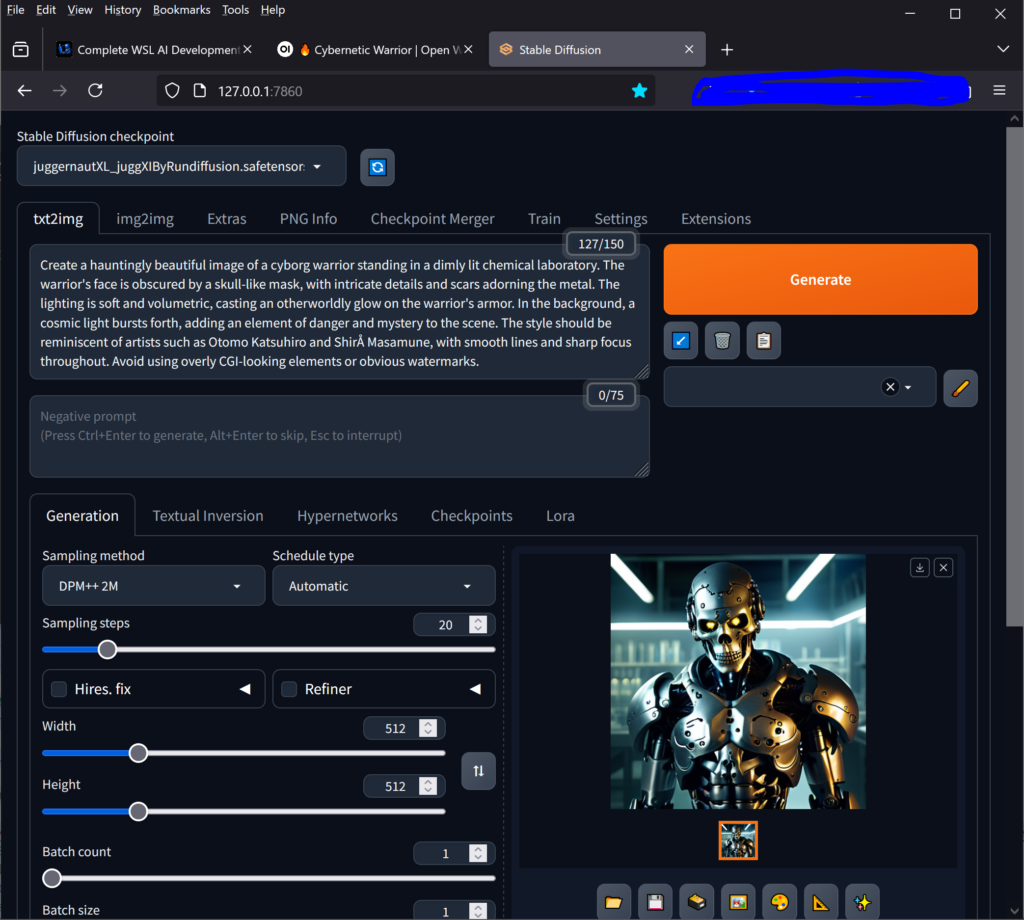
The WebUI to Stable Diffusion will be available at http://localhost:7860
Additional Notes
- Make sure to have WSL 2 installed and configured properly
- Ensure your system meets the minimum requirements for running CUDA and GPU-accelerated applications
- The Stable Diffusion WebUI will be accessible through your web browser after installation
- Monitor GPU usage with `nvidia-smi` to ensure everything is working correctly
Images from Browser


 blackMORE Ops Learn one trick a day ….


